

Optimize your workforce management, schedule breaks and lunches, and manage resource fluctuations with maximum flexibility within a single time block. This advanced feature eliminates the need for multiple complex calendar blocks by allowing you to split a single time slot into several configurable segments in real time. This step is optional when creating a time slot.
TABLE OF CONTENTS
- Configuring and managing time segments
- Time segment padlock management
- Modifying and deleting time slots
- Displaying time slots in the calendar
- Practical case study: examples of everyday use
Configuring and managing time segments
Before you can configure time segments, you must first create a time slot. Then, use time slots to schedule breaks or configure resource variations without having to create multiple time blocks.
1. Understanding the default segments
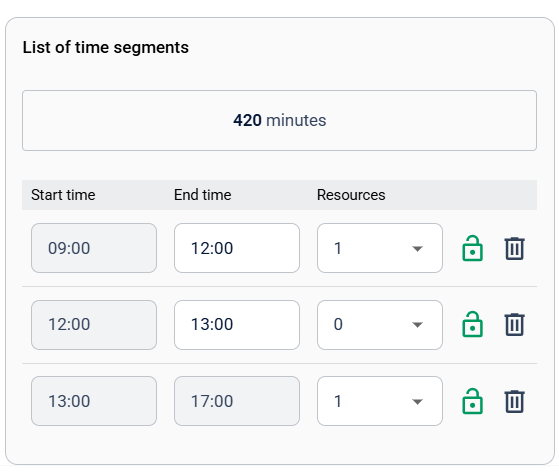
- In step 2 of creating a schedule (time segments), the application automatically generates a single slot initially covering the entire range of the block (e.g., from 9 a.m. to 5 p.m.).
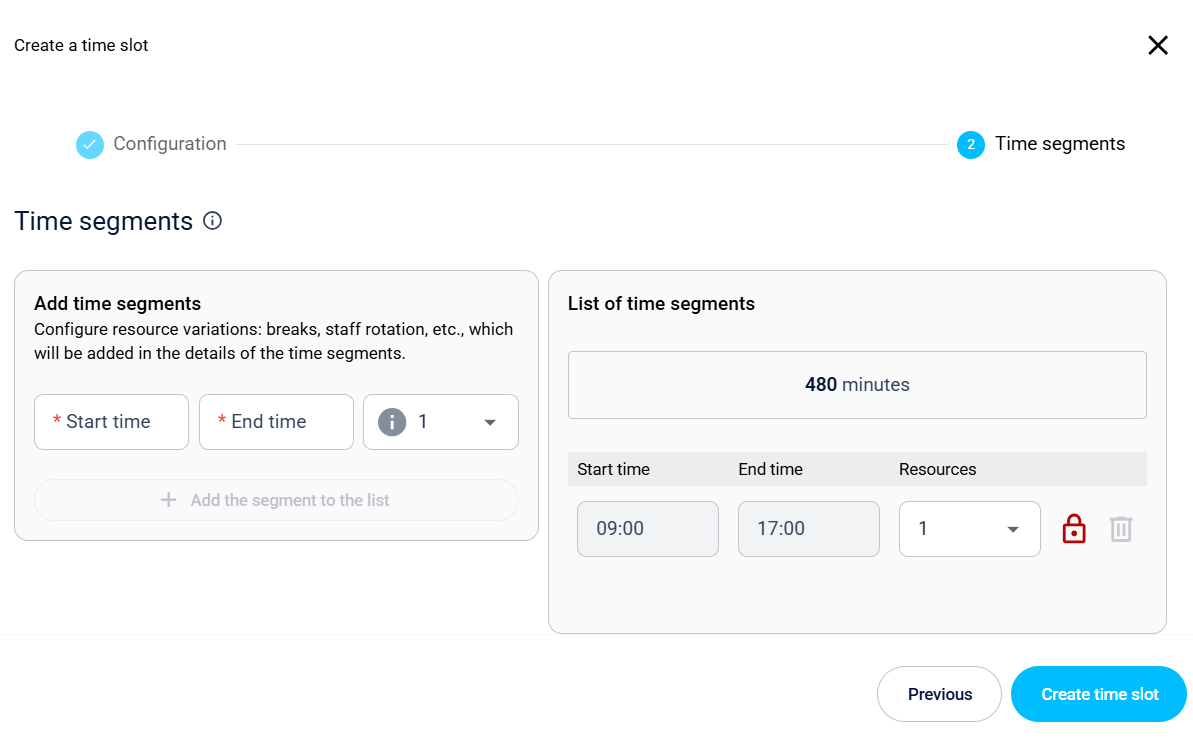
- To change the start or end time of this main time slot, you must return to the global time block configuration page by clicking on Back. This change cannot be made from the time slots page.
2. Add a time segment
Navigate to the section titled "Add a time segment."
3. Enter temporal limits
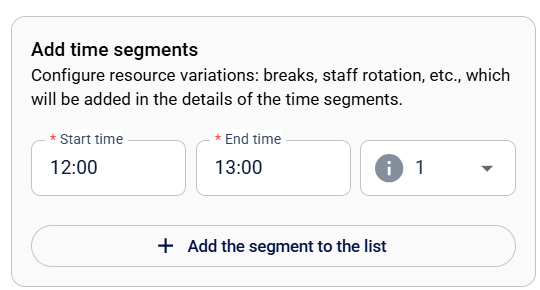
Enter the start and end times for your new time slot. You must enter a multiple of 5 minutes (e.g., 09:05, 14:30) or the system will reject the entry.
4. Adjust the number of resources
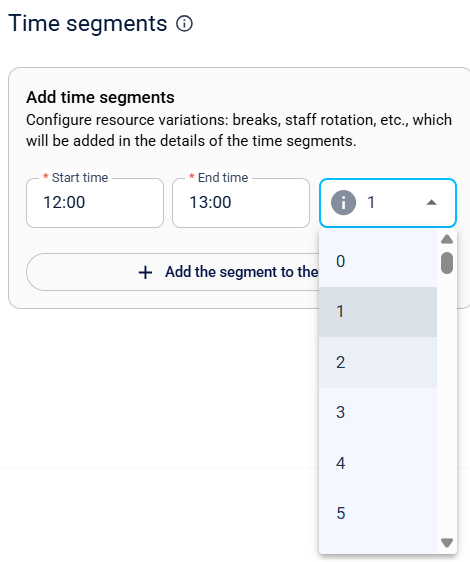
- Enter the number of resources available during this period in the Resources field.
- Select or enter the value 0 to configure a break (e.g., lunch break).
- Note that there is a limit of 150 resources per schedule.
5. Add the time segment to the list
Select the "Add the time segment to the list" button.
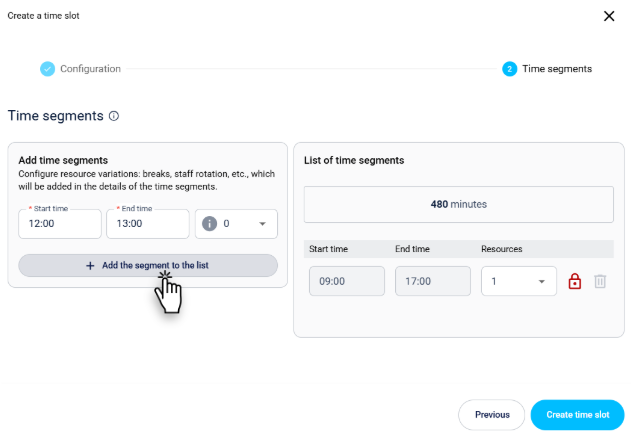
Carefully check that the segment appears in the list of time slots before proceeding with the final save.
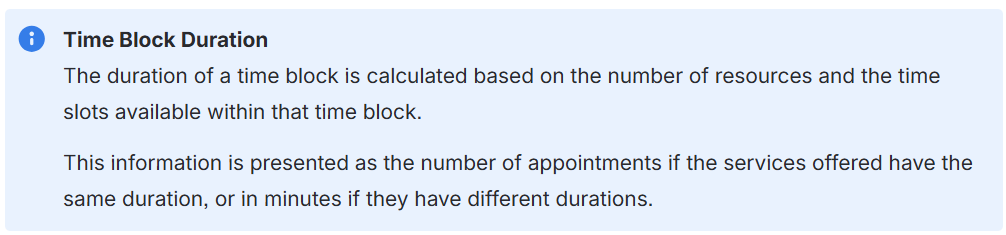

Time segment padlock management
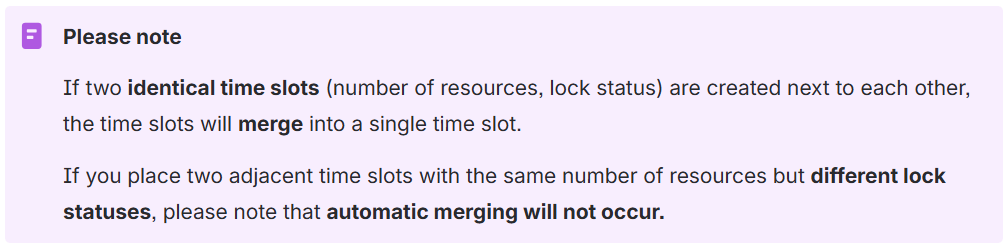
Once a time segment has been added to your list, adjust the locks to determine precisely who has the right to book appointments for each time slot.
1. Spot the padlocks
- Right in Your Calendar View
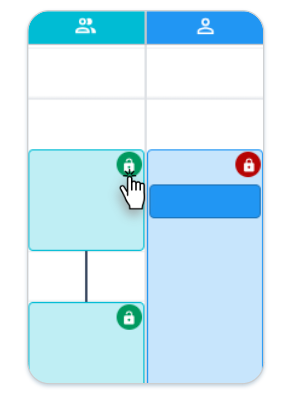
- In your calendar view, you can quickly adjust the padlocks for your time slots by clicking on them. The padlocks for your time slots are available in the “Schedule” and “Schedule/Appointments” view types.
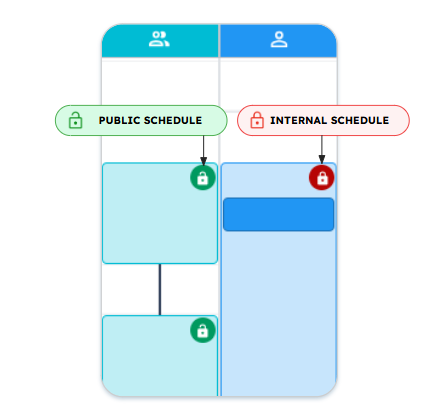
- Open padlock (green): Availability is visible and accessible to the public and internally.
- Closed padlock (red): Availability is accessible internally only.
- Editing Your Time Segments
- Double-click or open your time slot. The padlock icon appears next to the delete button (trash can) for each time segment.
- The padlocks are automatically assigned to the time slots based on your day configuration at the time of creation.
- Open padlock (green): Availability is visible and accessible to the public and internally.
- Closed padlock (red): Availability is accessible internally only.
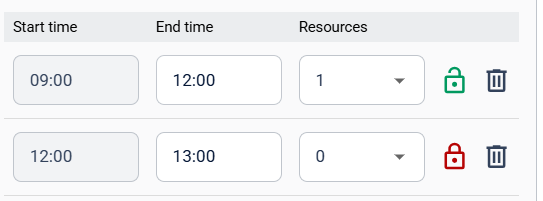
- Double-click or open your time slot. The padlock icon appears next to the delete button (trash can) for each time segment.

Modifying and deleting time slots
Follow these steps to readjust time slots or to remove slots that have become unnecessary.
1. Modify a time segment
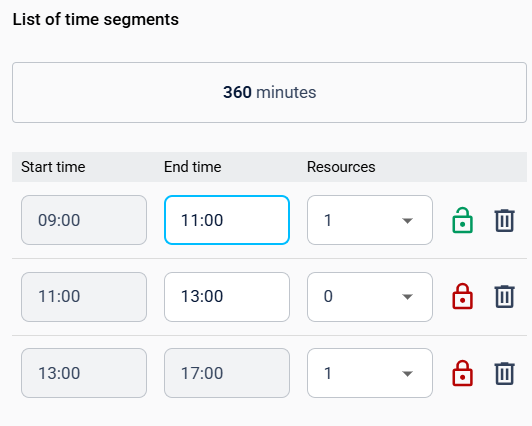
Adjust the end time of a slot in your list: the start time of the next slot will automatically change to follow your newly configured end time.
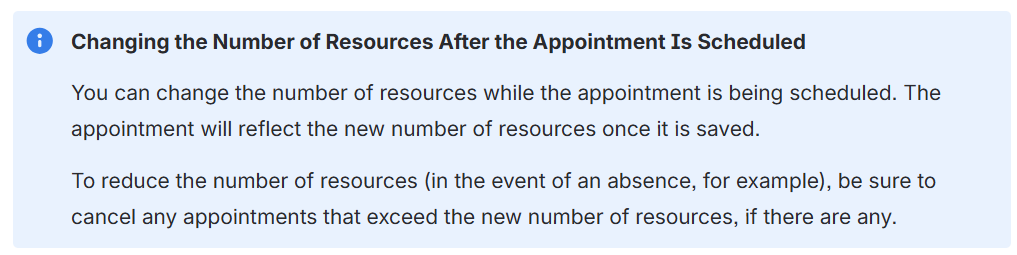
Adjust the number of resources: modify the number of resources available in the Resources column.
2. Delete a time segment
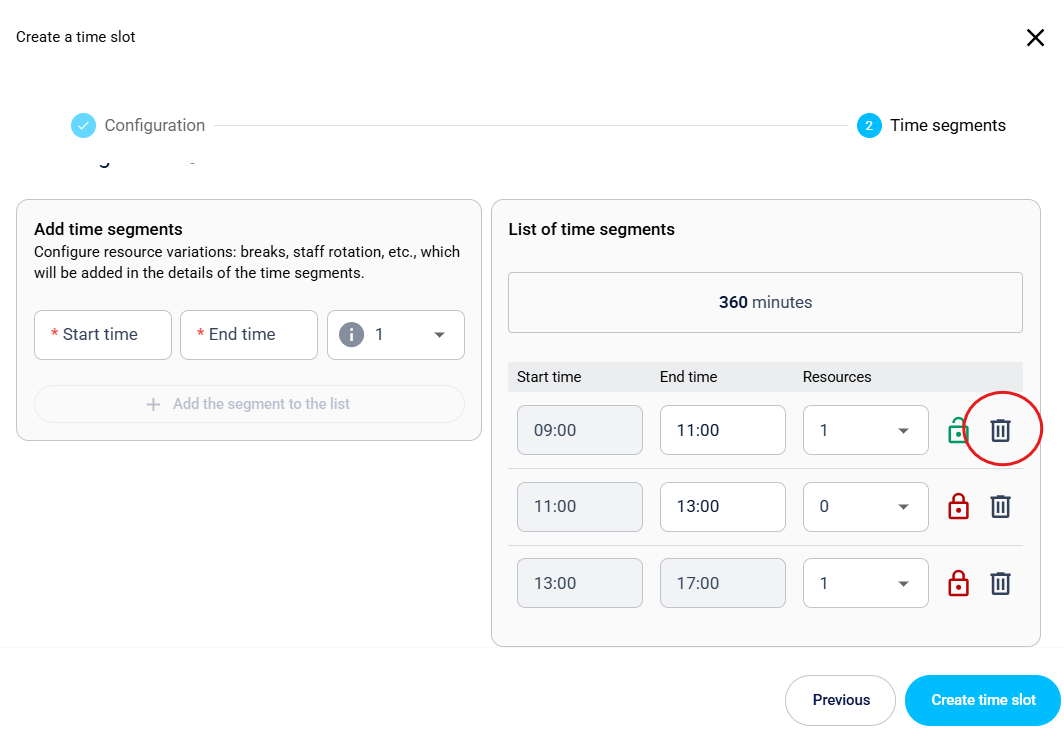
Click on the trash can icon located at the far right of the slot to be deleted.
The time slots will be automatically recalculated following the deletion.
- If you delete the first segment from the list, the second one automatically retrieves the overall start time of the time block.
- If you delete the last segment from the list, the second-to-last one automatically stretches to the overall end time of the time block.
Displaying time slots in the calendar
The calendar graphically displays your settings, allowing you to see the status of your day at a glance. Learn to interpret the visual cues to instantly identify the status of locks and downtime.
1. Check the status of the time segment padlock
Unlocked segment (green padlock)
Locked segment (red padlock)
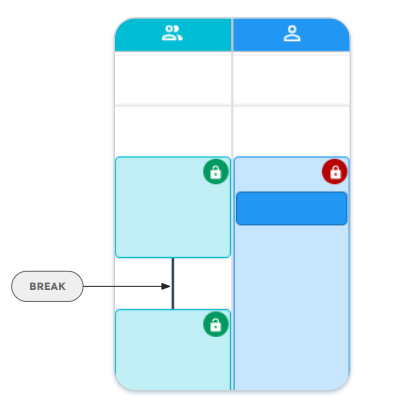
2. Spot the breaks
- Breaks are represented by a black line that connects two slots.
Practical case study: examples of everyday use
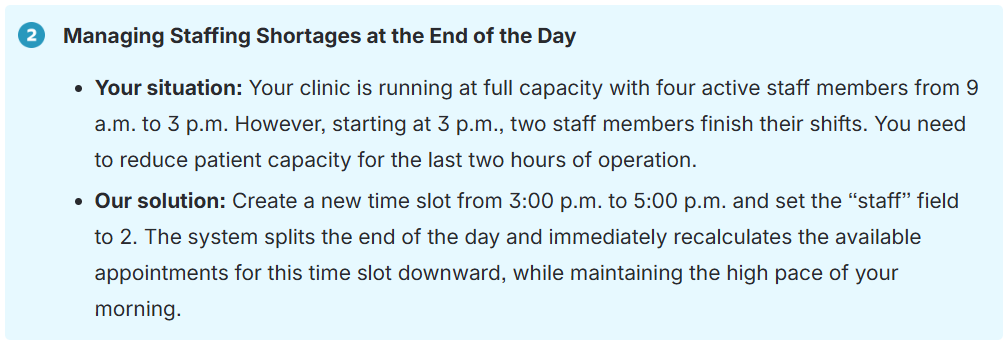
Here's how this feature allows you to react effectively: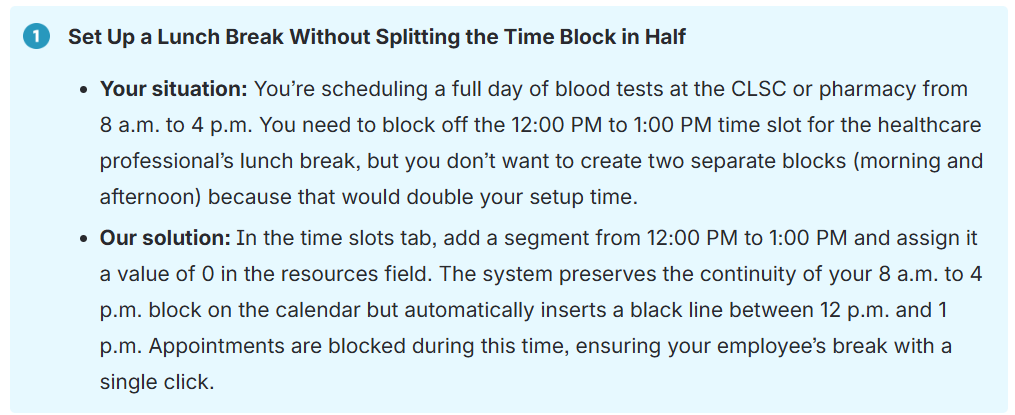
Related article(s)
Create and edit a time slot
 Trimoz Technologies - All rights reserved |