

The Schedules menu features an advanced filtering system, quick time navigation, and three view types. These tools are designed to simplify your daily workflow: they allow you to instantly switch from an overview to targeted management, thereby reducing the risk of confusion when editing your time slots.
Whether you’re an administrative staff member, a healthcare professional, or a facility manager, this guide explains how to get the most out of these features.
TABLE OF CONTENTS
Filters
Side panel
The side panel groups all filters into a single collapsible panel.
- Open the panel by clicking the filter icon in the top bar.
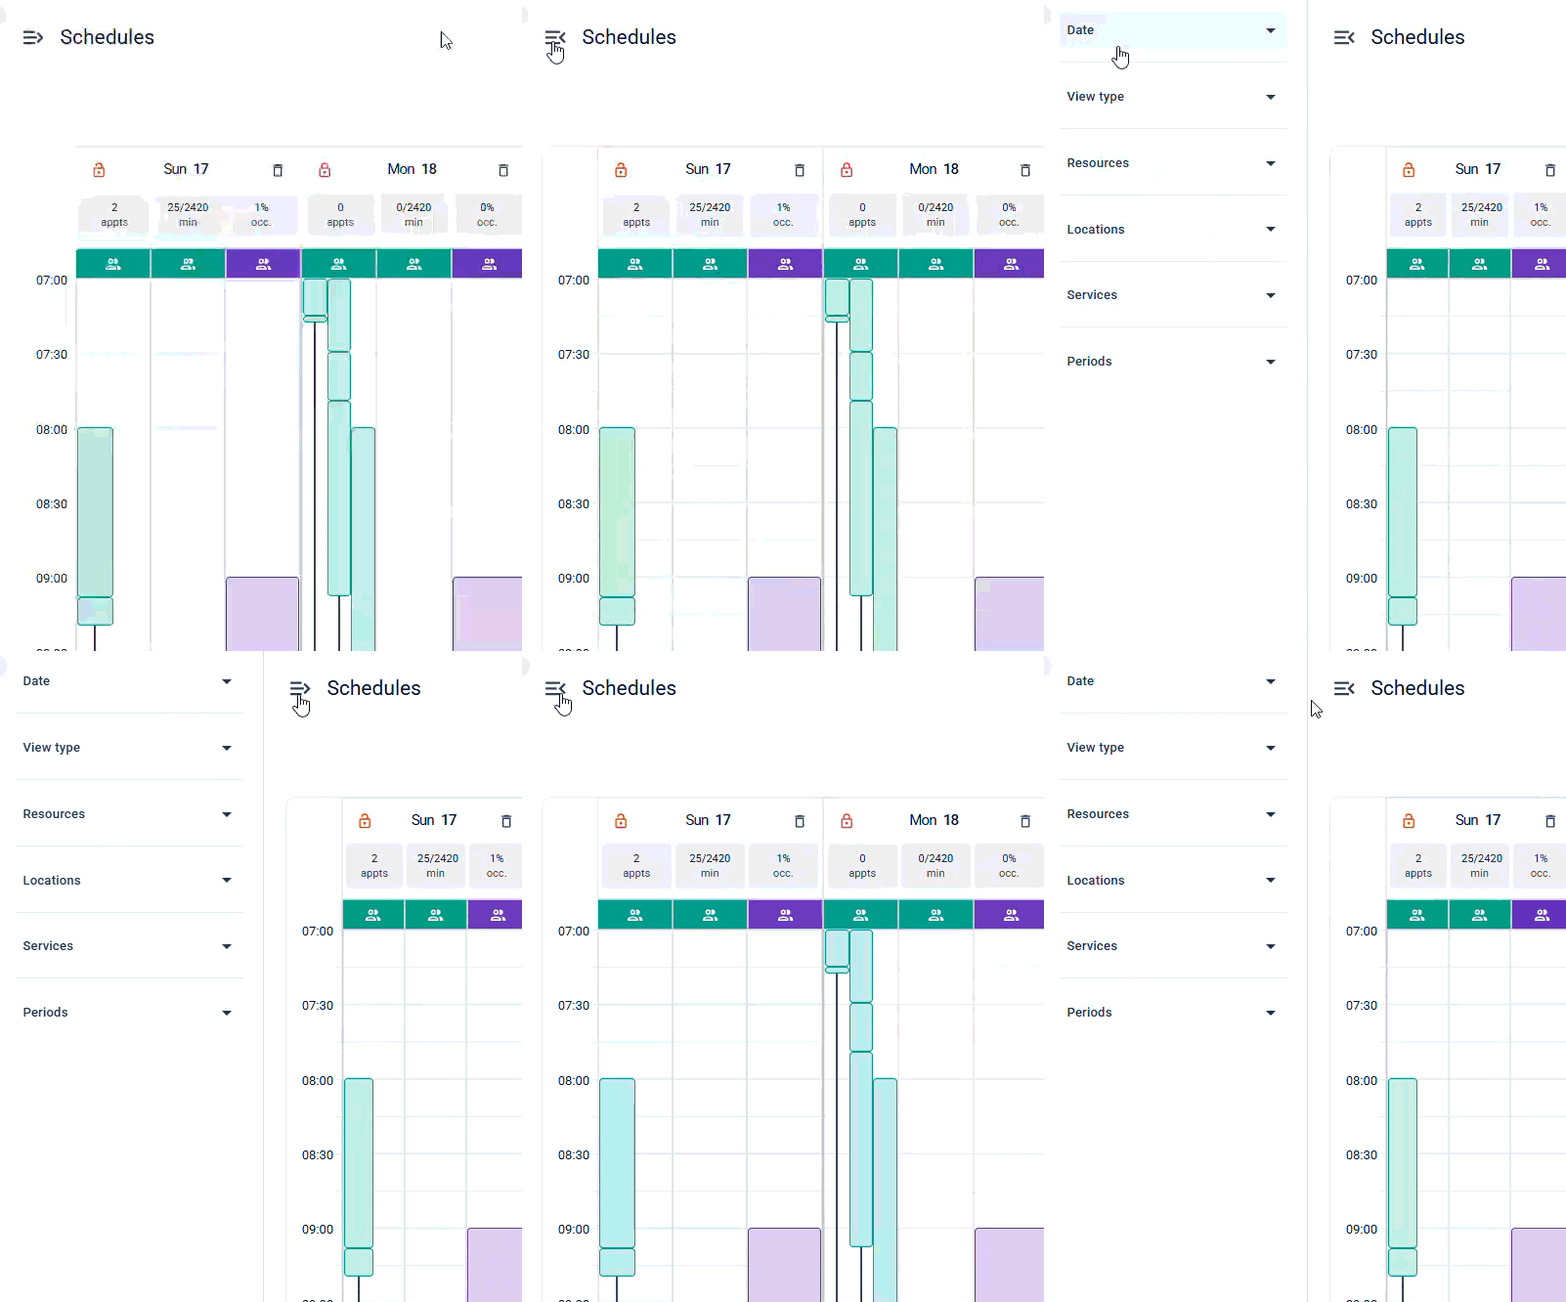
- Adjust your criteria by expanding the filter categories of your choice.

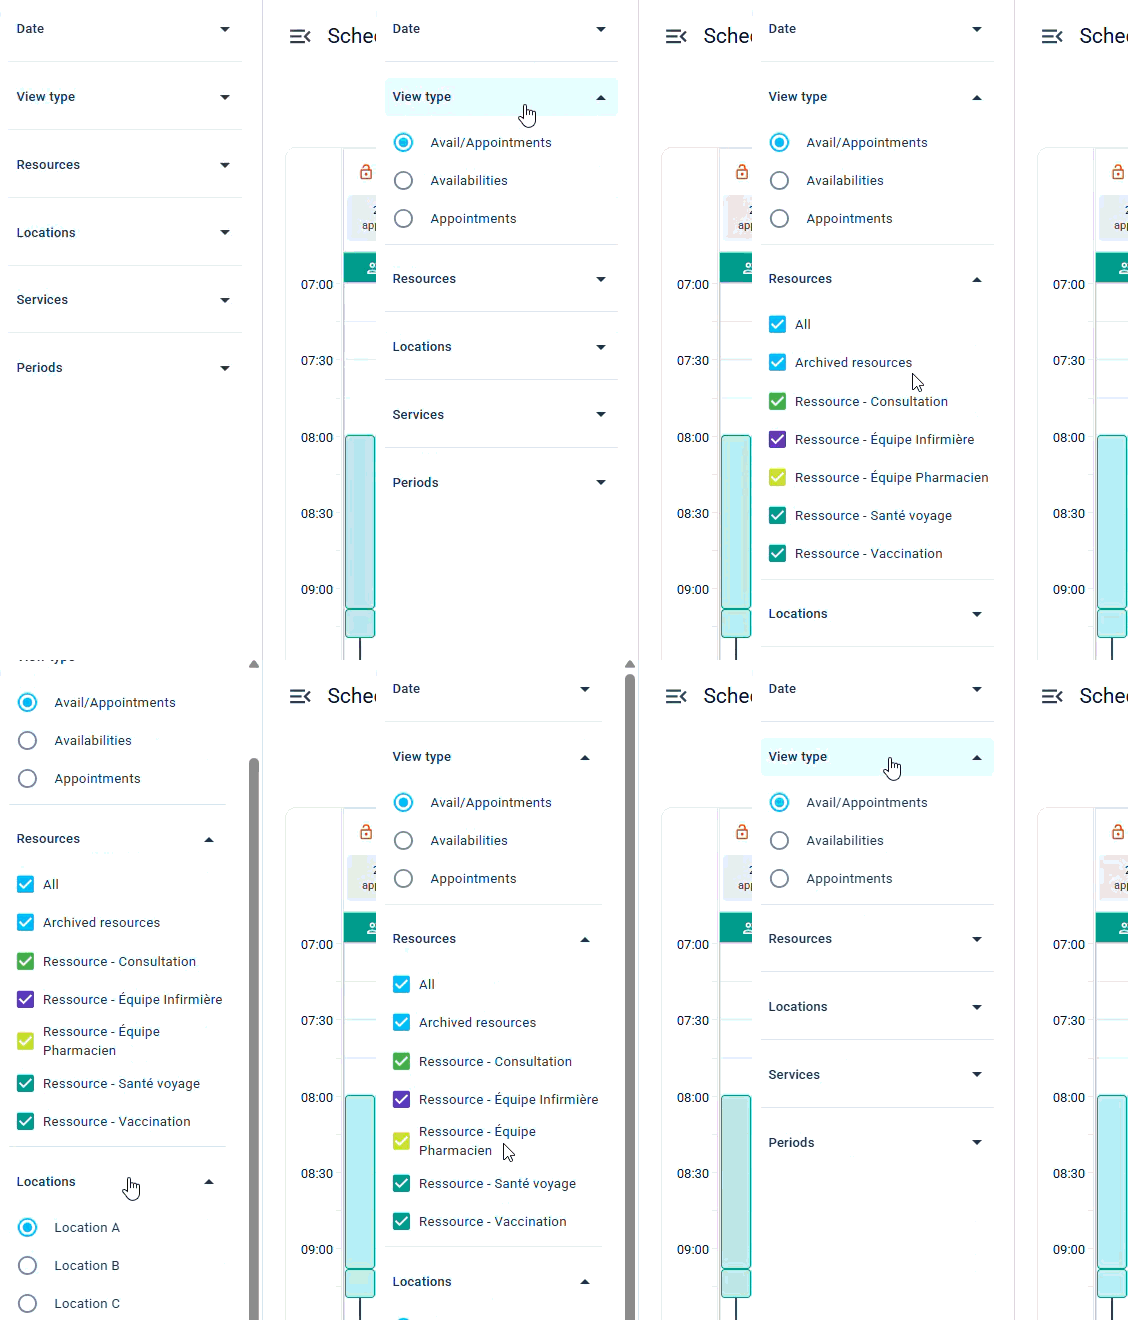
Resources, locations, and services filters
The resources, locations, and services filters allow you to hide secondary information so you can focus solely on the details essential to your current task: creating and managing schedules. Choose which items you want to display on the screen:
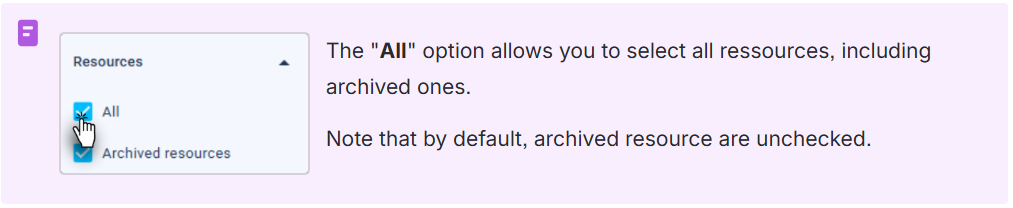
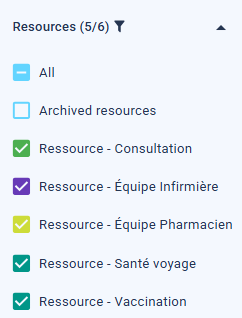
Resources
- Check the resources you want to see on the screen. An indicator (e.g., “5/6”) lets you know if filters are hiding certain resources.
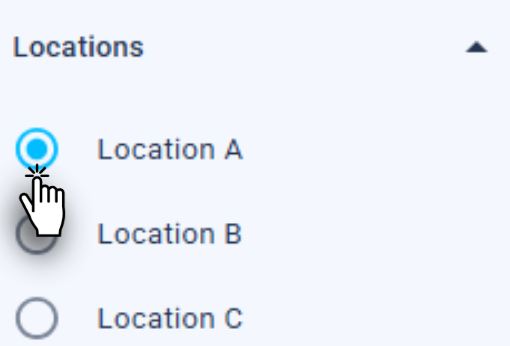
Locations
- Select your specific location to view or configure its schedules. Check the box to the left of the desired location to instantly update the calendar
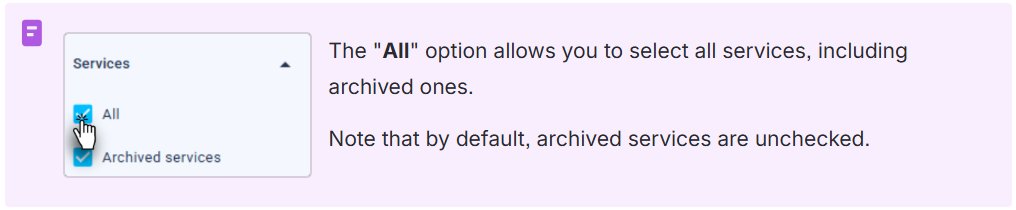
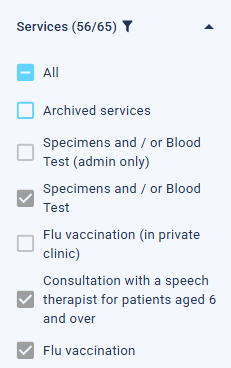
Services
- Select the services to display in the calendar. The system also indicates the proportion of selected services (e.g., “3/10”).
View type
Filter the calendar view based on your current goal:
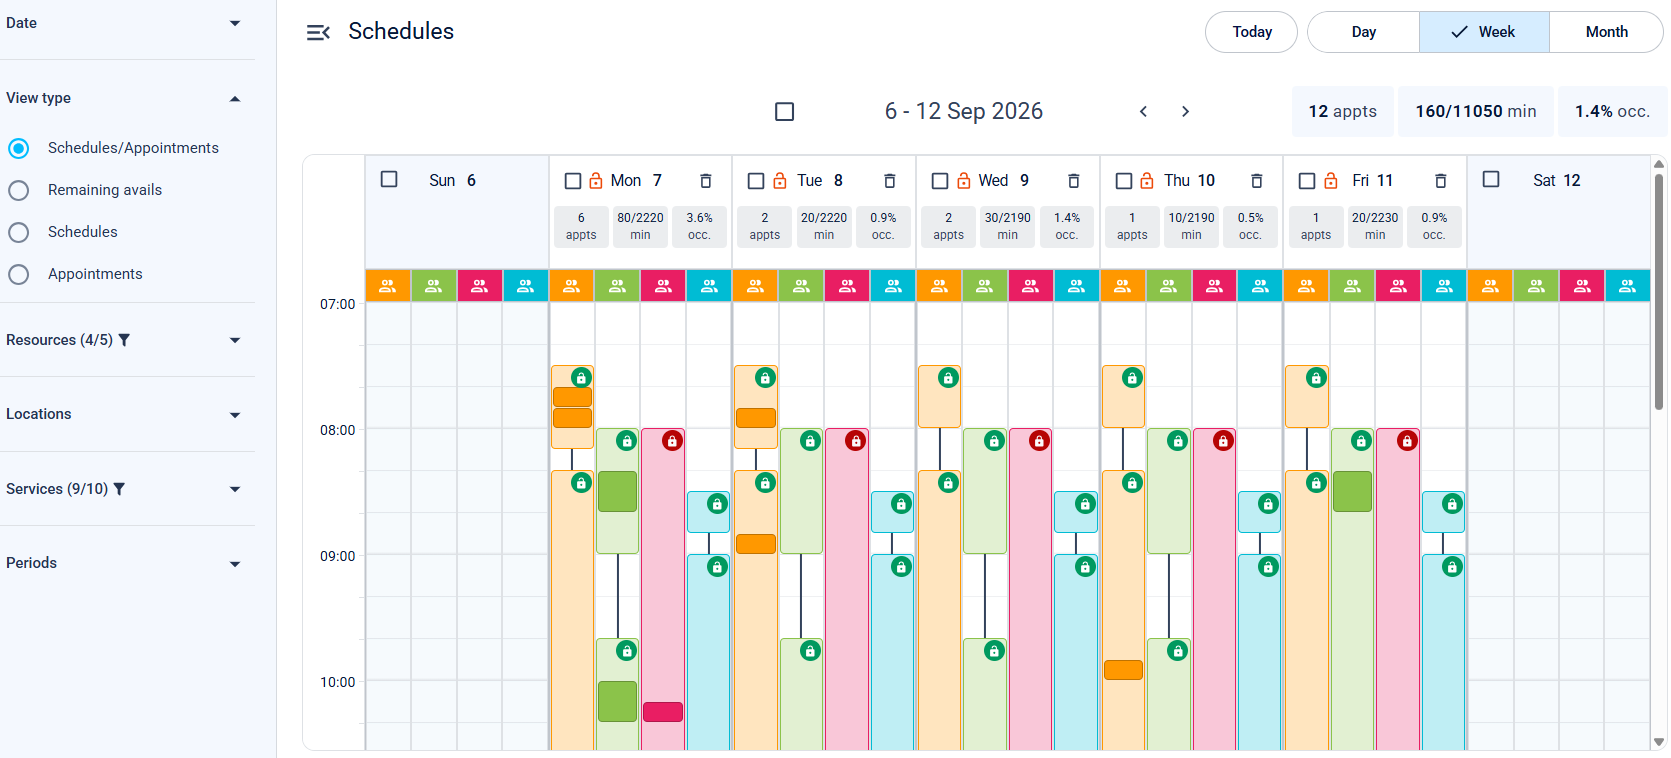
Schedules / Appointments
- View the entire calendar for an overview of all time slots and appointments.
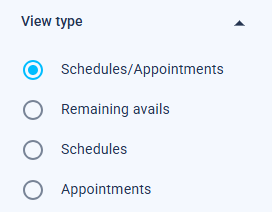
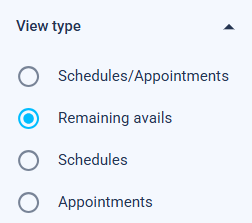
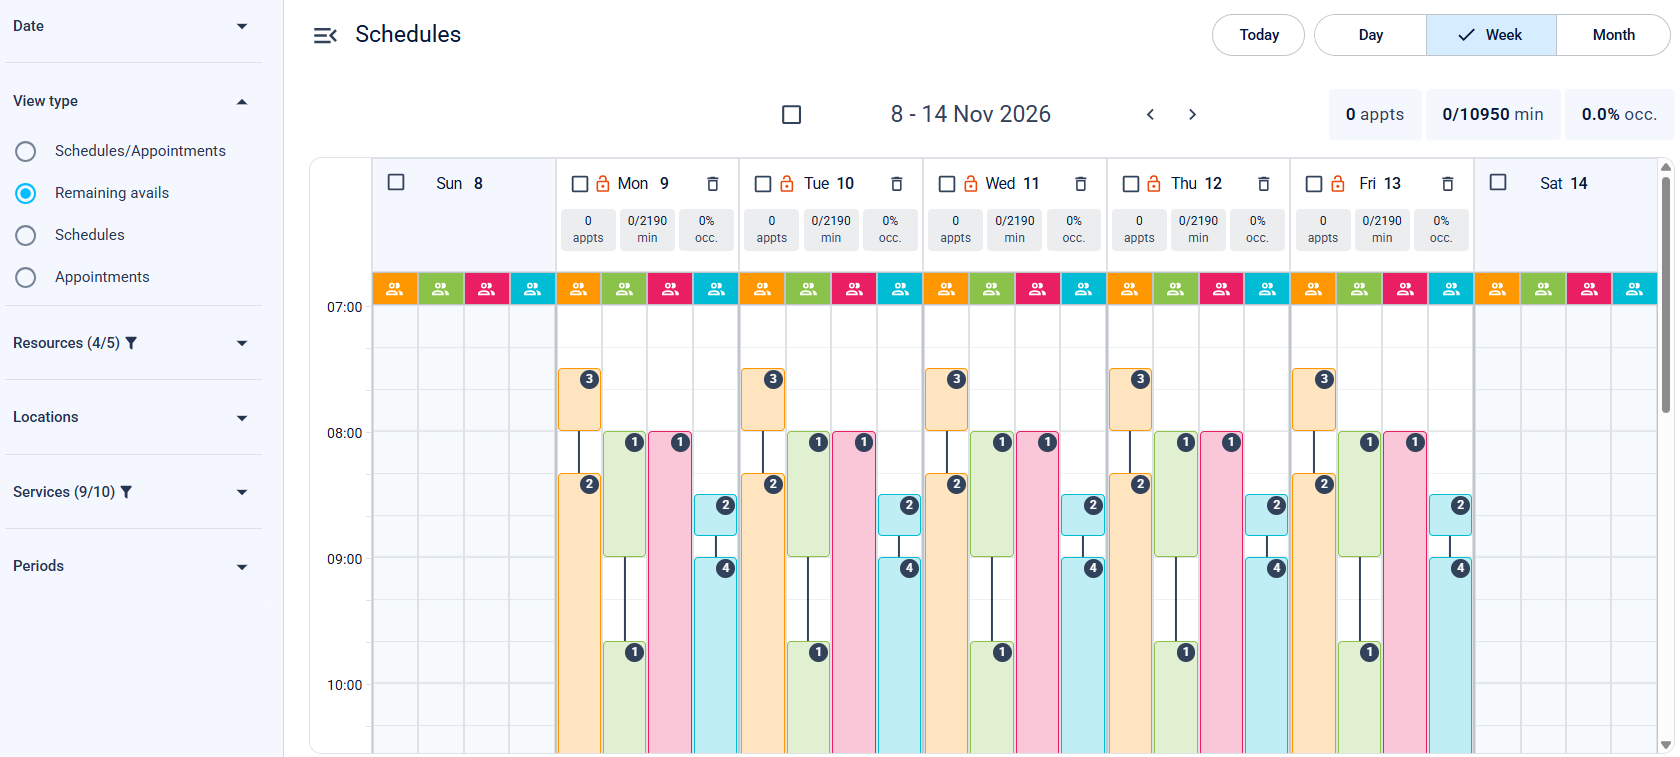
Remaining avails
- Isolate the unbooked slots, ideal if you are looking to see your remaining availability.
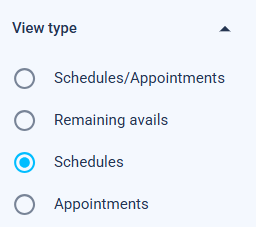
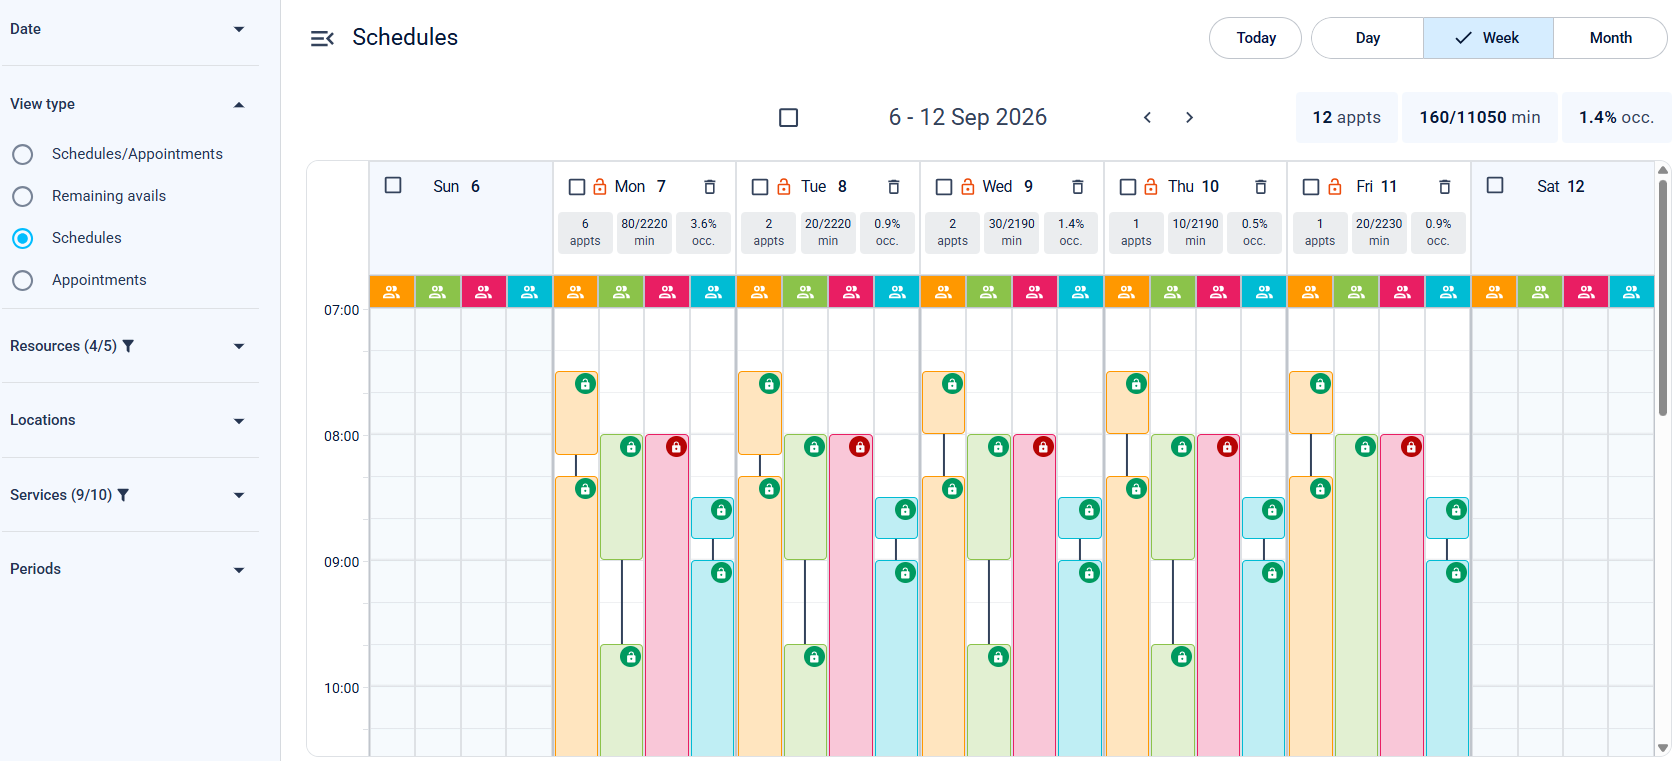
Schedules
- Identify existing time slots (whether reserved or not)—ideal if you want to view the schedules you've created.
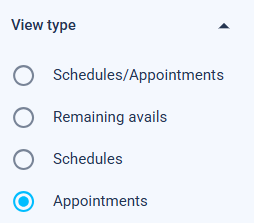
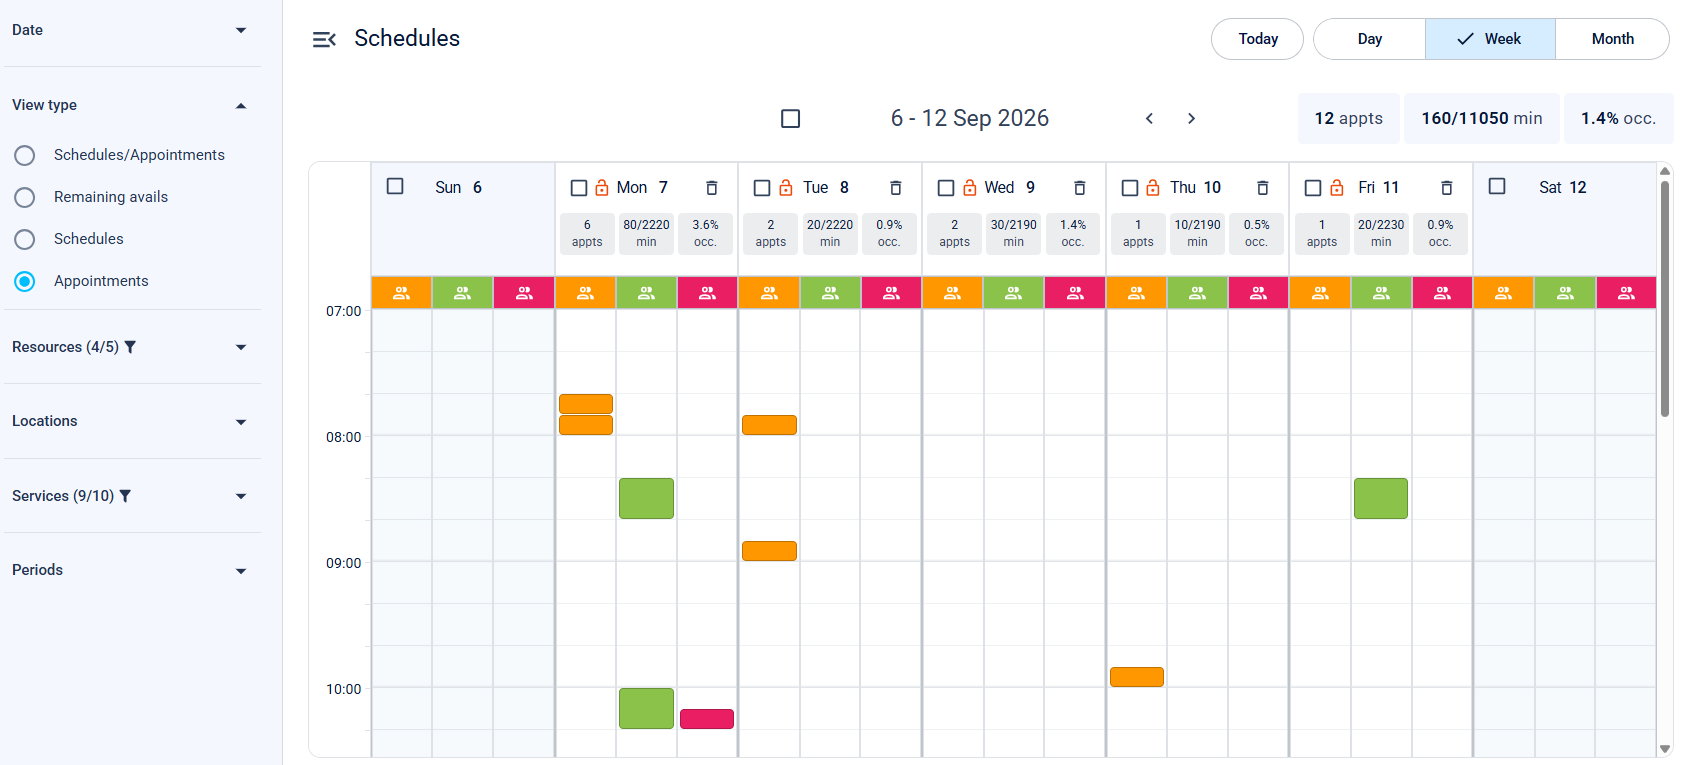
Appointments
- Display only the booked appointments—perfect for reviewing your scheduled appointments.

Periods
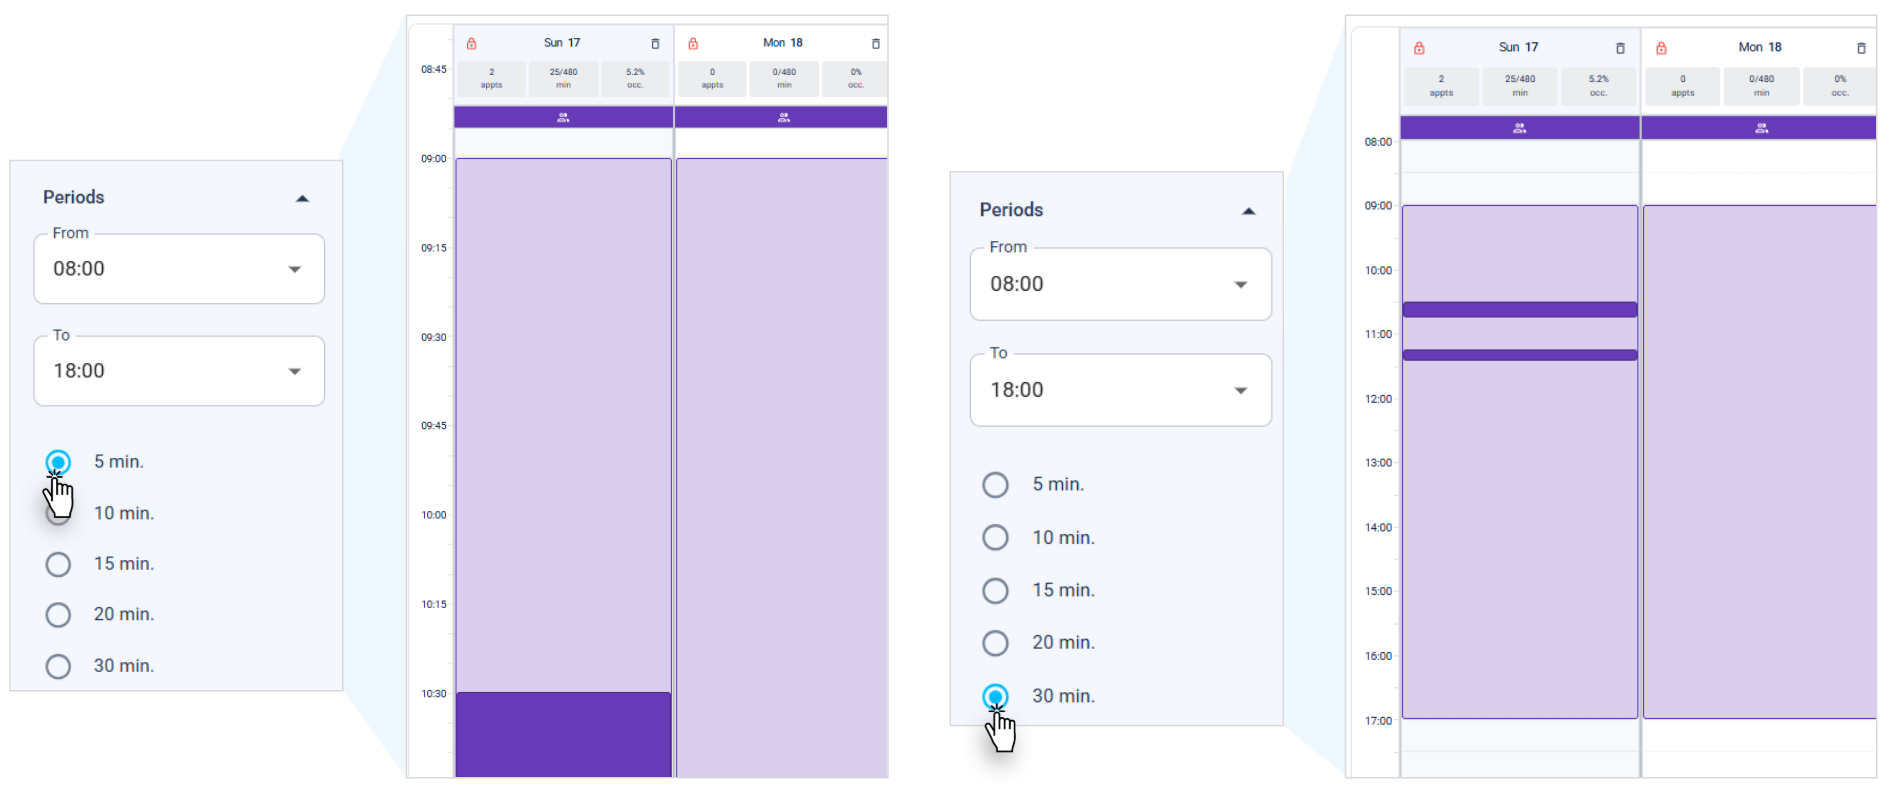
This option allows you to align the display with your actual business hours and adjust the level of detail for the time slots to fit your screen.
Start time and end time
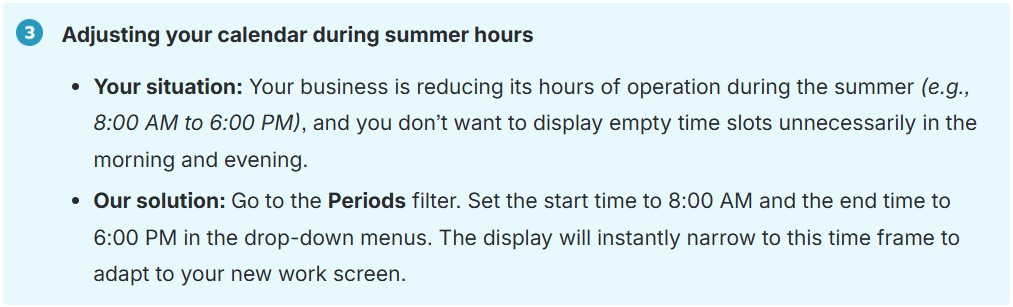
- Choose the start and end times for your day using the drop-down menus (e.g., from 8:00 AM to 6:00 PM). Your calendar will now adjust to reflect your chosen start and end times.
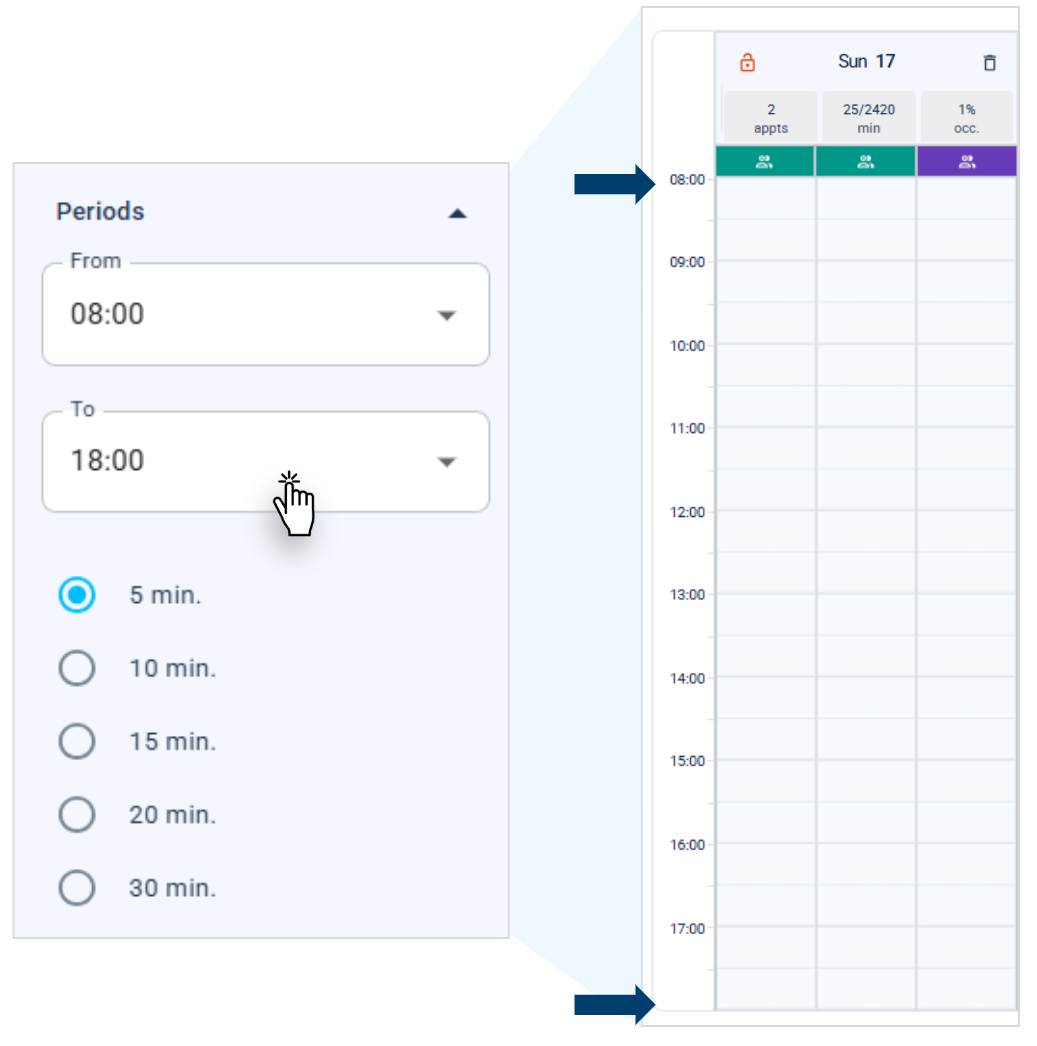
Interval
- Choose a zoomed-out view (e.g., 5-minute intervals) for maximum detail, or a zoomed-in view (e.g., 30-minute intervals) to condense the display and avoid scrolling through your calendar.
Navigating Through Time
The date picker and the “Today” button let you quickly move through the calendar.
Date Picker
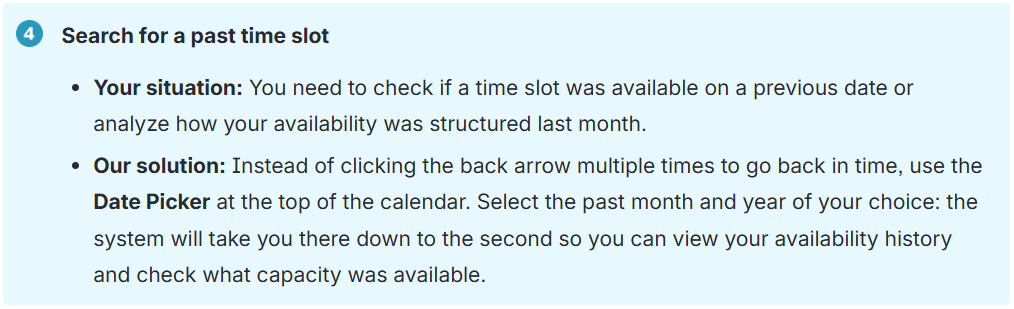
Use the Date Picker, by clicking the arrows or using the drop-down menus, to go directly to a specific month or year (e.g., go back to April 2026). 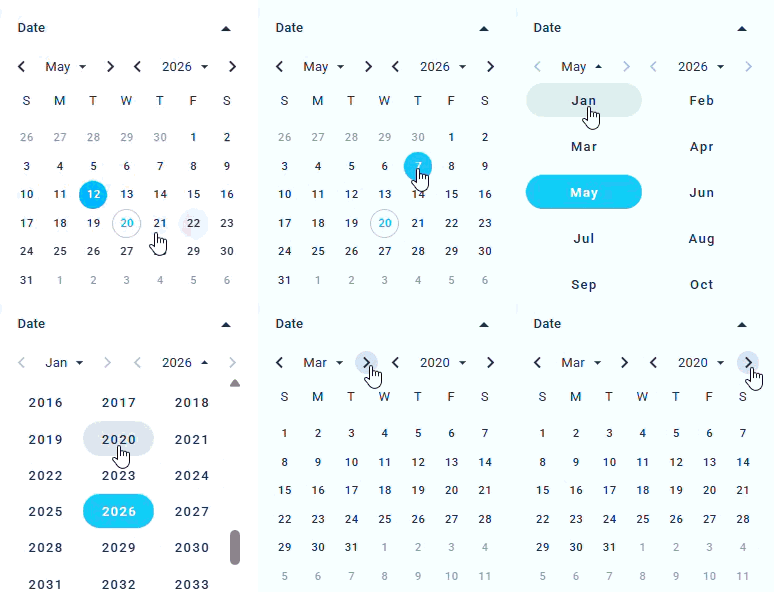
Back to the Present
Click the “Today” button in the top bar to instantly return to the current date.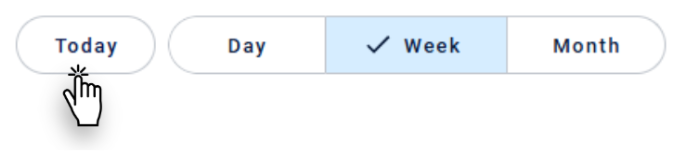
Views
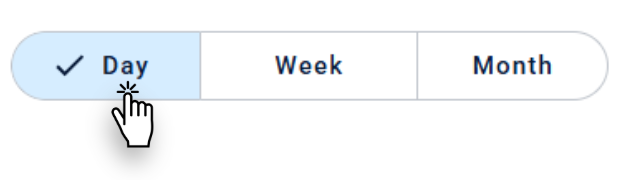
Switch between the three view modes at the top of the screen:
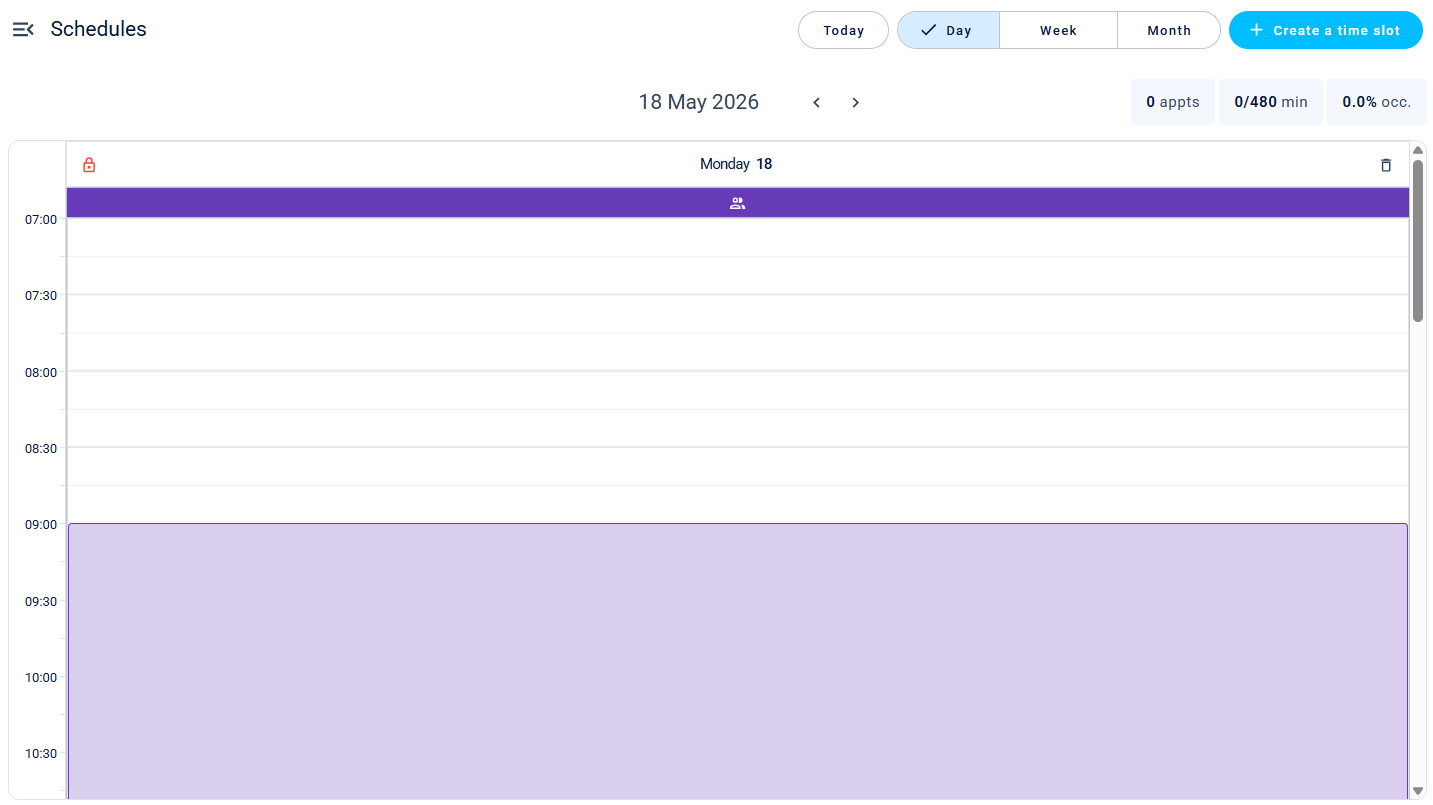
Day View
- Perfect for planning your day with maximum precision.
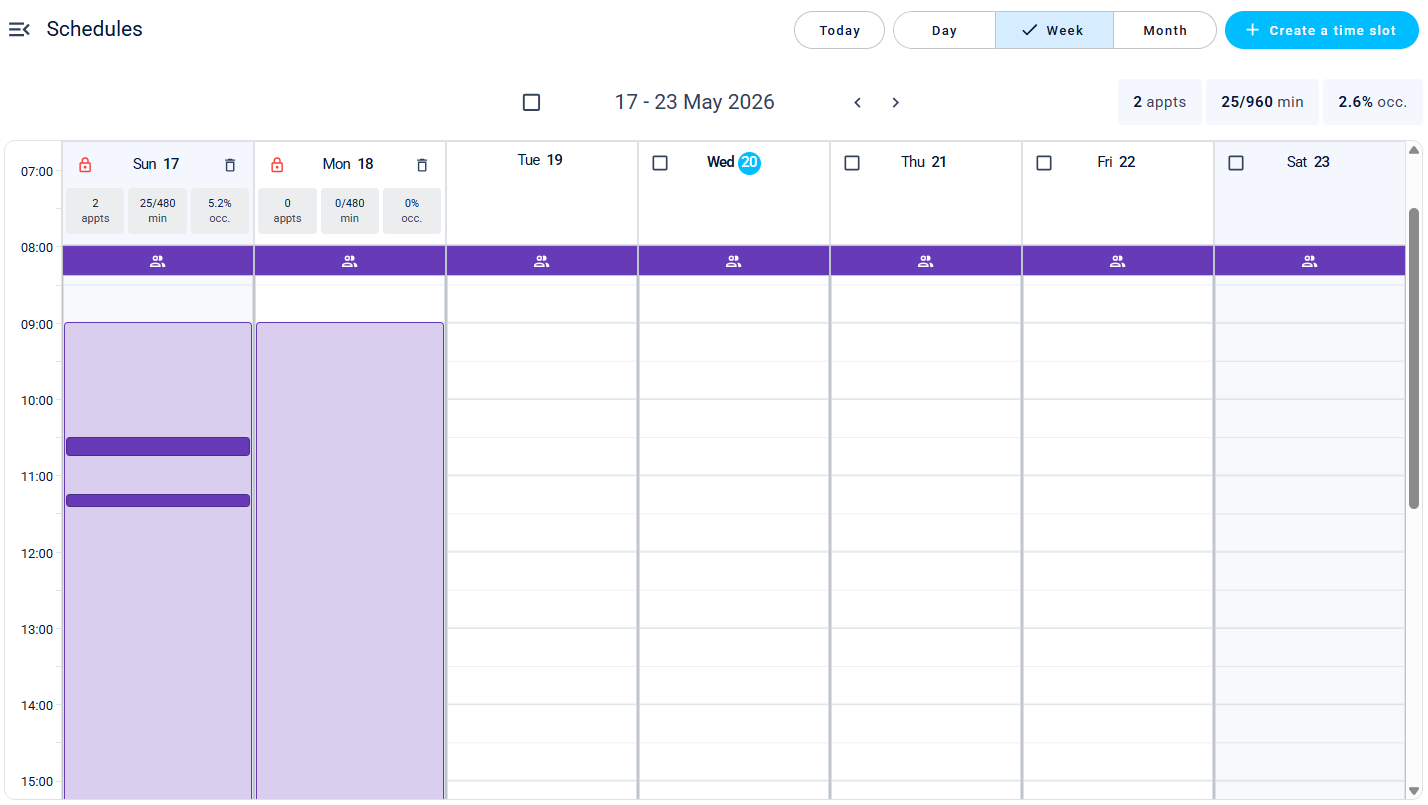
Week View
- Perfect for your day-to-day management and creating your schedules.
Monthly View
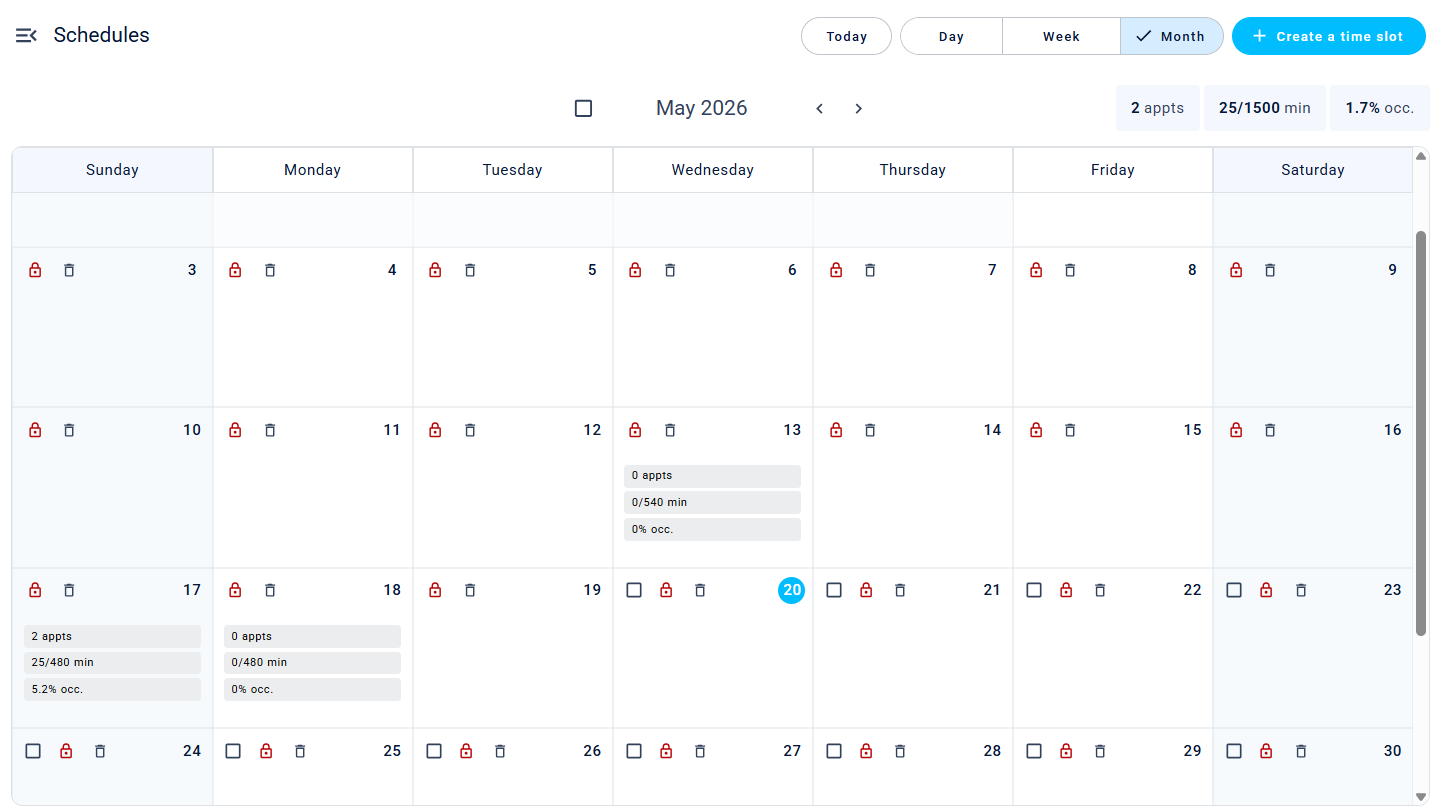
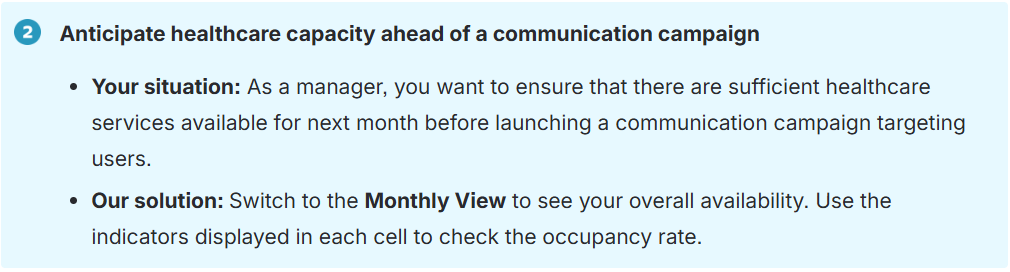
- Perfect for getting an overview of your activities.
Practical Examples: How to Use These Features?
Here are some real-life examples to help you make the most of these tools in your daily work routine.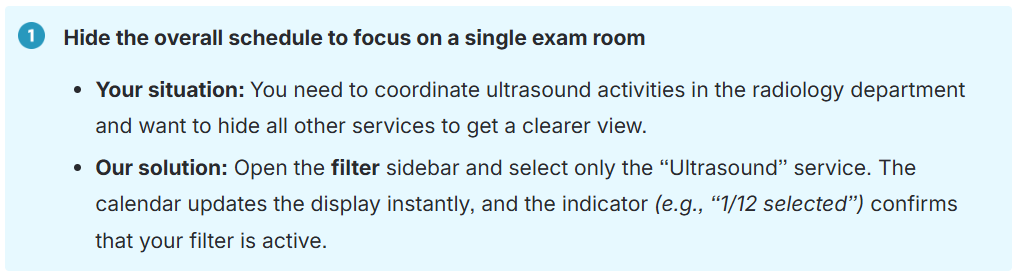
Related article(s)
Booking indicators
| By phone | Solutions home page | Get help and open a ticket |
| 450-977-2672 poste 2 | Solutions Clic Santé | Open a ticket |

Trimoz Technologies - All rights reserved