

The Schedules menu gives you a seamless, instant overview of your workdays. Thanks to clear visual distinctions and interactive tooltips, you can quickly check your availability and view reservation details.
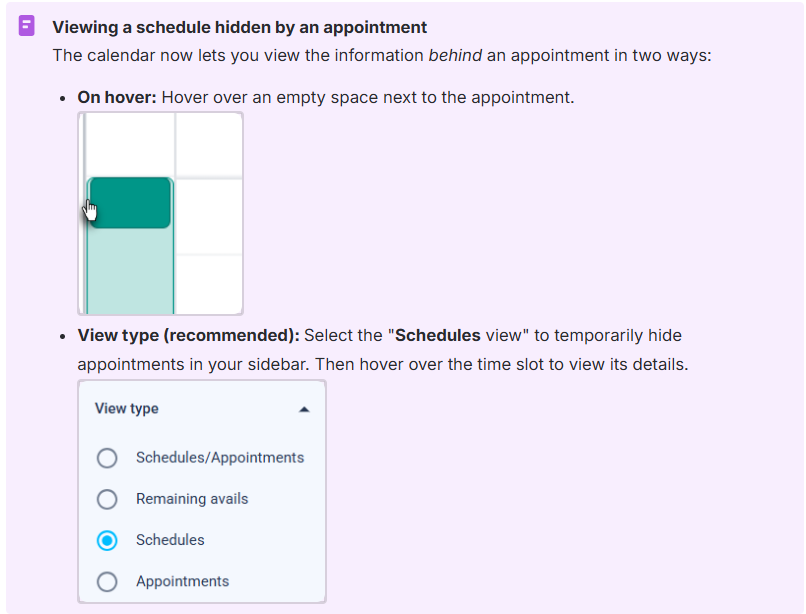
Important! Make sure the view type selected in your filters matches the desired view for checking your schedules and appointments. If the wrong view is selected (for example, "Availabilities"), some elements may be hidden on the screen.
TABLE OF CONTENTS
- Viewing Schedules and Appointments
- Tooltips : Get Details on Hover
- Practical Cases: Everyday Use Cases
Viewing Schedules and Appointments
The interface features distinct visual cues to help you immediately differentiate between your available time and actual reservations.
Time Slots (Availability)
Time slots represent the blocks of time you have configured to receive patients. Visually, they appear as light-colored (pale tint) blocks in the background of the grid. Their color is directly linked to the color code of the resource used to create the schedule.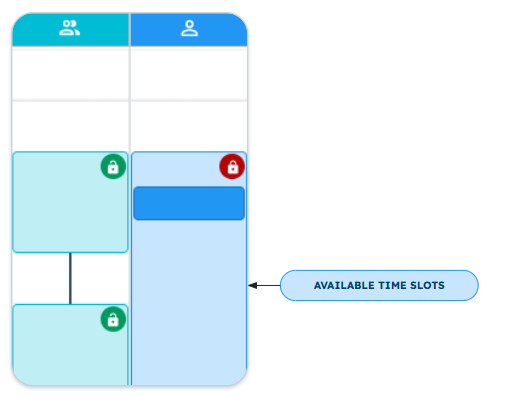
Dotted Outline – Unlocked Padlock Schedule (Green)
The time slot is associated with a green, unlocked padlock. Users can book appointments themselves through the public portal (open to the general public).
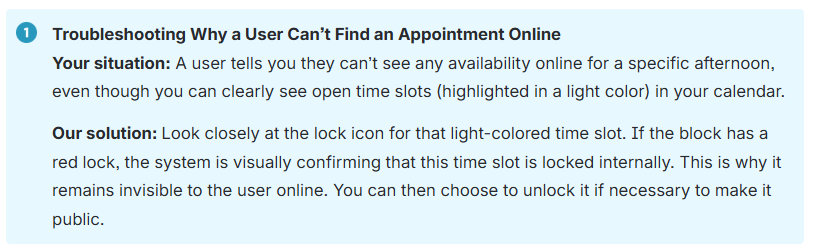
Solid Outline – Locked Padlock Schedule (Red)
The time slot is locked with a red padlock. It is invisible to the public and reserved exclusively for appointments booked internally by your staff (admin only).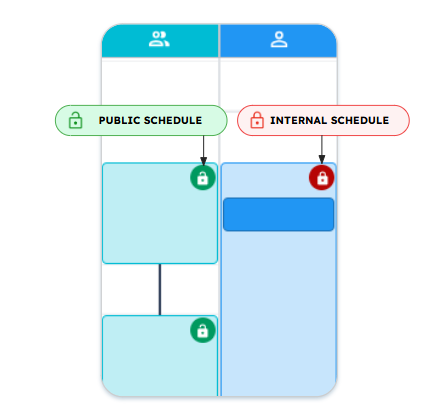
Appointments (Reservations)
Appointments are the actual bookings made by your users or internal staff. Visually, they layer directly over the schedule as distinct, dark-colored blocks. Their color is directly linked to the color code of the resource used to create the schedule. This contrast allows you to spot busy times in a fraction of a second.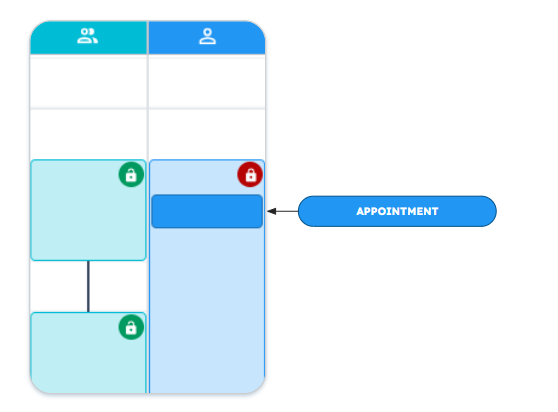
Breaks (0 resources)
The lines represent the breaks configured in your time slots. They correspond to times when no resources are available (0 resources).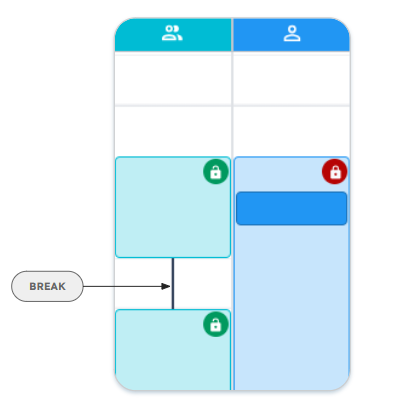
Tooltips : Get Details on Hover
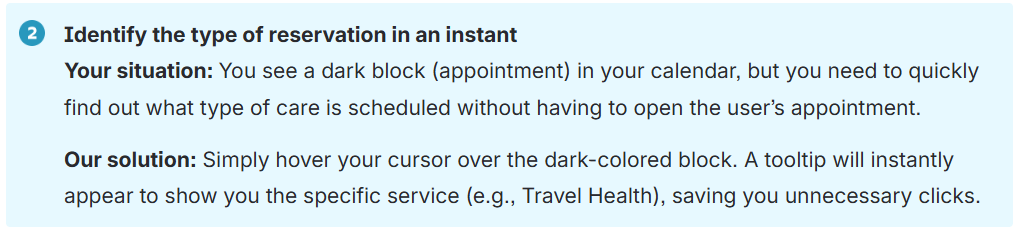
To save you from having to click and open every single calendar item, the system features dynamic tooltips. Simply hover your mouse cursor over an item to see its detailed information appear.
Hovering Over a Time Slot (Light Zone)
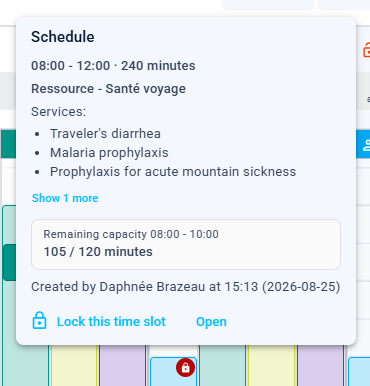
When you pause your mouse over an availability area, a tooltip appears, showing the full technical configuration of that time block:
- Start time – End time of the entire schedule, regardless of whether any time slots have been configured within it.
- The resource (team or access) assigned to this slot.
- The list of services offered in this block (e.g., blood draw, flu vaccination, STI screening).
- The total capacity of the block, displayed in minutes (e.g., 120 minutes).
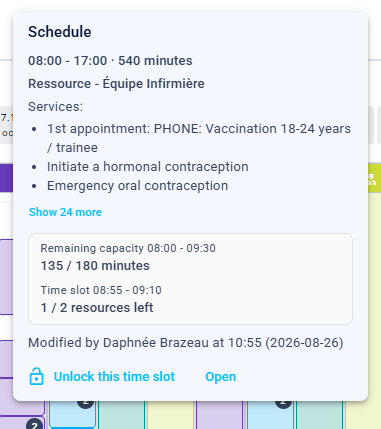
- Remaining capacity and resources left
The indicator calculates the remaining capacity:- In appointments: The number of open spots remaining for booking if your services are of equal duration.
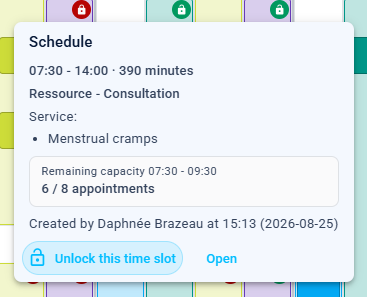
- In minutes: The amount of time still available to fill within the time block if your services vary in duration.
- In available resources: Specifies the number of resources still free within the slot (accessible only in the "Remaining Avails" view).
- In appointments: The number of open spots remaining for booking if your services are of equal duration.
- The history of the schedule that allows you to track the last action performed on the block. Only one status is displayed at a time (the most recent):
- Created by: If the last action was creation, displays the author as well as the date and time of creation.
- Modified by: If the last action was a modification, displays the author as well as the date and time of the modification.
- Unlock or lock the time block using the dedicated button or by double-clicking directly on the block to edit it. Locking or unlocking affects the entire schedule.
- An "Open" button is available at the bottom of the tooltip to access the time slot's editing interface. You can also double-click directly on the time slot to open it.
Hovering Over an Appointment (Dark Zone)
When you stop your cursor on an occupied appointment, the tooltip adapts to display specific reservation data:
- Start time – End time of the appointment (e.g., 10:30 AM - 10:40 AM).
- The resource (team or access) assigned to this slot.
- The exact service selected for this appointment.
- The total duration of the appointment (e.g., 10 min).
Unlike time blocks, double-clicking on an appointment results in an "action not possible" error. To view appointments, use the Appointments menu.
Practical Cases: Everyday Use Cases
Here is how to use these visual tools to optimize your daily workflow.
| By phone | Solutions home page | Get help and open a ticket |
| 450-977-2672 poste 2 | Solutions Clic Santé | Open a ticket |

Trimoz Technologies - All rights reserved